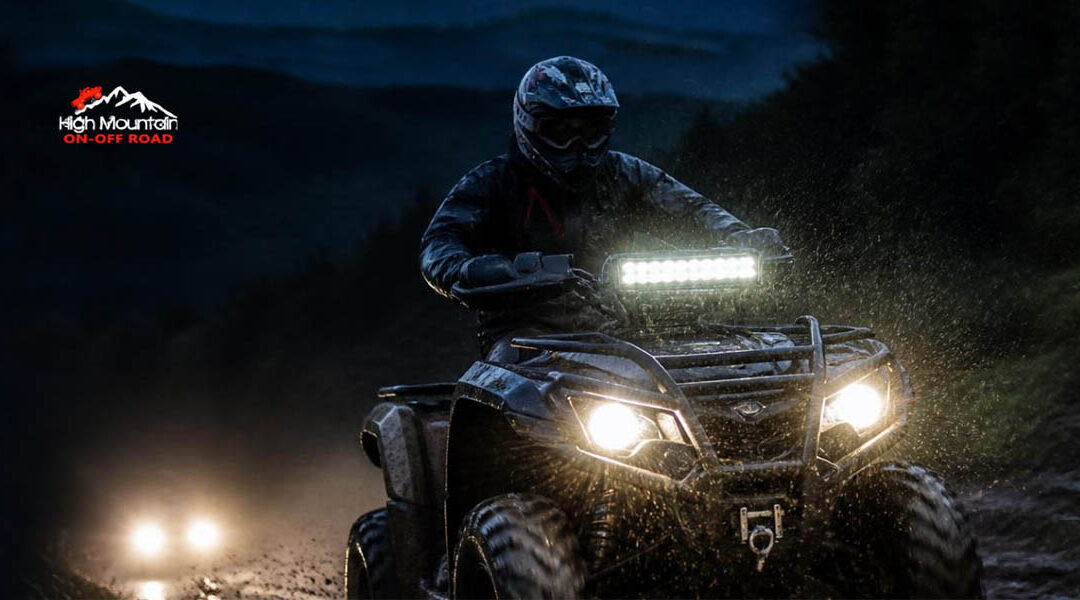
When the sun drops behind the ridges of the Allegheny Mountains, standard factory headlights quickly show their limitations. Navigating tight, timber-heavy trails near Oakland, Maryland, or pushing through dense mountain fog outside of Morgantown, West Virginia, demands high-performance visibility. Stock high beams simply lack the reach and width needed to spot sudden trail hazards, washouts, or wildlife.
Upgrading a 4×4 lighting system turns nighttime trail rides from stressful guessing games into controlled, confident adventures. This guide breaks down how to choose the right beams, layout, and placement for Appalachian terrain.
Decoding Beam Patterns: Flood vs. Spot vs. Driving Lights
Throwing random light bars onto a truck or Jeep often creates blinding glare without actually improving visibility. Matching the right beam pattern to the specific driving scenario makes all the difference.
Spot Beams (Long-Range Visibility)
Spot lights produce a narrow, focused beam that throws light exceptionally far down the road or trail.
-
- Best For: High-speed trail runs or long, straight mountain roads where seeing far ahead is critical for stopping distance.
- Placement: High up on a roof rack, the upper pillar, or the bumper.
Flood Beams (Wide-Area Coverage)
Flood lights offer a wide, evenly dispersed pattern that illuminates the immediate surroundings rather than the distance.
-
- Best For: Low-speed technical maneuvers, tight wooded trails, and setting up camp.
- Placement: Sides of a roof rack, rear bumpers, or angled out from the front fascia.
Driving & Fog Beams (Daily and Trail Utility)
Driving lights mimic high beams but offer a wider, more functional spread. True fog lights feature a sharp upper cutoff line to prevent light from reflecting off mist, snow, or heavy mountain fog back into the driver’s eyes.
-
- Best For: Navigating unpredictable weather on Route 219 or I-68.
- Placement: Low on the front bumper or factory fog pockets.
Strategic Placement for Appalachian Trails
The tight hollows, heavy tree canopies, and rocky inclines of Western MD and Northern WV require a layered lighting strategy.
| Light Category | Common Mounting Location | Primary Benefit on Local Trails |
| Ditch Lights | Hood/A-Pillar Base | Angled outward to illuminate trail shoulders, tree branches, and wildlife hiding in the brush. |
| Bumper Bars | Front Bumper / Grille | Fills the immediate foreground with bright light, highlighting rocks, ruts, and deep mud holes directly ahead. |
| Roof Bars | Above Windshield / Roof Rack | Projects light over hills and down into valleys, though it requires careful aiming to avoid hood glare. |
| Rock Lights | Inside Wheel Wells / Underbody | Illuminates the exact position of tires relative to sharp rocks and obstacles during low-speed crawling. |
Cheap Lights vs. Rugged Trail Armor
The off-road marketplace is flooded with inexpensive, generic light bars. While the low price tag is tempting, the harsh, damp climates of Garrett County and Monongalia County quickly expose their vulnerabilities.
-
- Moisture Defeat: Budget lights frequently suffer from poor rubber seals. A single heavy mountain downpour or a deep mud hole can trap condensation inside the lens, shorting out the circuit. Premium brands utilize military-grade breathers and heavy-duty silicone seals to keep internal components completely dry.
- Housing and Polycarbonate Lenses: Flying gravel, stray tree branches, and trail debris shatter cheap plastic housings. Opting for high-impact polycarbonate lenses and aircraft-grade aluminum housings prevents trail hazards from ruining an investment.
- Thermal Management: High-output LEDs generate immense heat. Cheap designs lack proper heat sinks, causing the LEDs to dim or burn out prematurely. Quality setups manage heat efficiently to maintain maximum brightness throughout long night rides.
Keeping the Electrical System Safe
Adding multiple sets of auxiliary lights places a major draw on a vehicle’s electrical components. Splice-and-tape wiring jobs lead to blown fuses, flickering lights, or electrical failures far out in the woods.
Utilizing a dedicated digital switch pod or electronic control system streamlines the entire setup. These systems isolate aftermarket accessories from the factory wiring harness, providing a single, clean control box under the hood and a neat, programmable switch panel inside the cab. This method protects the factory alternator and battery from unexpected overloads.
Planning a Custom Night Setup?
Visualizing how different lighting configurations fit onto a specific truck or Jeep is easy with the Interactive Garage tool on the High Mountain Off Road website. To check out premium lighting systems in person or discuss a custom auxiliary setup, stop by the showrooms or contact the service bays in Oakland, MD on Garrett Highway at (301) 334-5060, or in Morgantown, WV on Earl L Core Road at (304) 291-9600.